

When an online evaluator runs on any run within a trace, the trace will be auto-upgraded to extended data retention. This upgrade will impact trace pricing, but ensures that traces meeting your evaluation criteria (typically those most valuable for analysis) are preserved for investigation.
View online evaluators
In the LangSmith UI, head to the Tracing Projects tab and select a tracing project. To view existing online evaluators for that project, click on the Evaluators tab.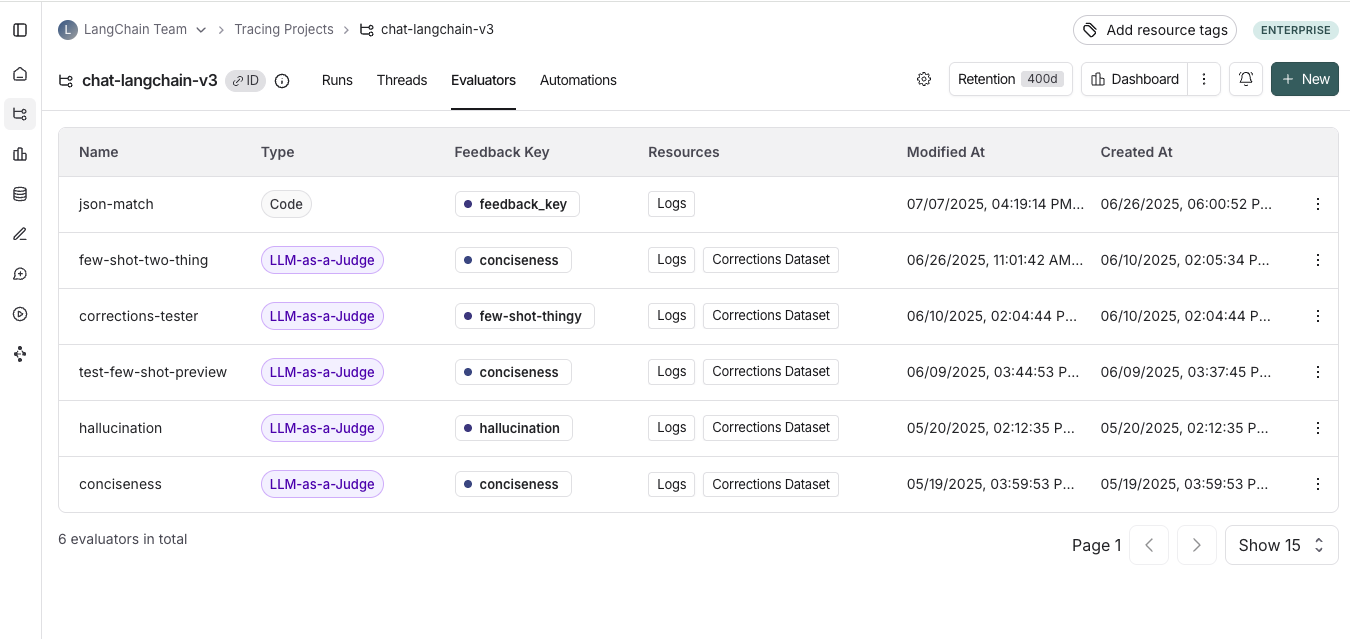
Configure online evaluators
1. Navigate to online evaluators
Head to the Tracing Projects tab and select a tracing project. Click on + New in the top right corner of the tracing project page, then click on New Evaluator. Select the evaluator you want to configure.2. Name your evaluator
3. Create a filter
For example, you may want to apply specific evaluators based on:- Runs where a user left feedback indicating the response was unsatisfactory.
- Runs that invoke a specific tool call. See filtering for tool calls for more information.
- Runs that match a particular piece of metadata (e.g. if you log traces with a
plan_typeand only want to run evaluations on traces from your enterprise customers). See adding metadata to your traces for more information.
4. (Optional) Configure a sampling rate
Configure a sampling rate to control the percentage of filtered runs that trigger the automation action. For example, to control costs, you may want to set a filter to only apply the evaluator to 10% of traces. In order to do this, you would set the sampling rate to 0.1.5. (Optional) Apply rule to past runs
Apply rule to past runs by toggling the Apply to past runs and entering a “Backfill from” date. This is only possible upon rule creation.The backfill is processed as a background job, so you will not see the results immediately.
- Add an evaluator name.
- Optionally filter runs that you would like to apply your evaluator on or configure a sampling rate.
- Select Apply Evaluator.